Mar 29, 2011

Cereal Box Given New Life with Glue Arts!

Happy Tuesday!  Need a gift wrapping idea and want to re-use a cereal box?  Then this post is for you!

Glue Arts still has more projects to show you using My Little Shoebox products!
 Visit the Glue Arts blog to see full instructions for my project today.

I used UCutIt 3D Foam from Glue Arts, as well as my Glue Glider MAX and Glue Arts Glue Gun to piece this all together for the Teacher.


Glue Arts products used to make this gift box include:

The Glue Arts Glue Gun:


 Have a great day!


Mar 25, 2011

Glue Arts and My Little Shoebox Team Up!

Hello lovely people!

Glue Arts has teamed up this week with My Little Shoebox for a lovely partnership of scrapbooking products and glue!  Visit the Glue Arts blog to see details about the GIVEAWAY.

I made a layout for the special occassion!  To see the full supply list and instructions, click here!

I used UCutIt 3D Foam from Glue Arts, as well as my Glue Glider MAX to piece this all together.


 Have a great weekend!


Mar 24, 2011

Unity Hip Hop MAR 24 2011 - PINK!

Welcome to the UNITY HIP HOP for March 24, 2011. 

Today's Scrapbook Thoughts:
 Do all girls love pink?  Sophie took a liking to pink very early on.  Pink dresses to be precise.  In this photo, we were just hanging out at home, no where to go, but all dressed up.  Sophie would wear dresses every day of her life if we let her.

If it's not PINK, forget it!


These rolled flowers are SO easy!  You start with a die cut scalloped circle (Spellbinders), then start cutting into it in a swirl pattern.  Start rolling from the edge and hot glue when you're done rolling!  There are lots of You Tube videos on this I'm sure.


My first box from Unity contained this set Sweet Loving and Living, and I adore it.  That big label stamp is perfect to embellish.  I stamped the date stamp on it, and popped it up with 3D foam from Glue Arts, then added a bird sticker from My Little Shoebox.  All patterned papers are My Little Shoebox.


To dress up this border stamp, I added rhinestones and I also did my best to choose an ink that matched the paper.


Unity Stamps Used:
I used the stamp set Sweet Loving & Living.


TIP TIME:
On yuor border and flourish stamped images, add rhinestones or pearl dots to dress them up!


UnityTV Plug:

KIT OF THE MONTH

Every month, Unity produces CUTE art on a 8.5x11 sheet of rubber just for kit club members! 
Here is the kit for MARCH 2011:


To continue on the hop, click on the button!  You'll be glad you did.

Next Blog


Thanks for visiting today!


Mar 22, 2011

Making a Scented Pillow with UnityTV


These are pictures of the project made in Episode #3! of UnityTV which aired Monday, March 21st.  If you watch it on You Tube, go ahead and subscribe to the UnityTV channel (UnityStampCoTV), because the videos will just keep coming! 


And here is Episode #3 of UnityTV:


SUPPLY LIST:
Unity Stamps: Iron Orchid Designs - Carte Postale (Postcard, Bird)
Mist: Shimmerz Spritz (Purple Passion)
Ink: Staz-on (Royal Purple and Timber Brown) by Tsukineko
Trim: May Arts
Button: My Mind's Eye
Seam Binding: Scrapnkris ETSY Store
Other: Canvas (fabric store), Sewing Machine, Needle & Thread, Cotton, Dried Lavendar, Lavendar Essential Oil, Cheesecloth


Mar 17, 2011

Unity Hip Hop on St. Patrick's Day!

Welcome to the UNITY HIP HOP for March 17, 2011 and Happy St. Patrick's Day! 

My grandfather immigrated from Ireland when he was 15, and he just passed away a few years ago on St. Patrick's Day.  We all saw it as a fitting day for him to go, he loved Ireland.  It was in his blood.  This was him at 92.  And he was a Leslie too!  Miss you Grandpa.


Today's Scrapbook Thoughts:
 I took this picture by chance, when I saw my little girl waiting for my sister to get ready to take a group shot.  She stood out, being so small, I was surprised.  She just has such a big personality and you can tell in this photo!  So I scrapped it and kept a denim feel to the layout.

"Pose for Pics"


I used Iron Orchid Designs - Love Never Fails stamp set on this layout.  It's a beautiful, feminine set.  I stamped myself a background using Coloringz, kind of built it like a brick wall, then added my other elements on top.


I spritzed the ribbon with Mamma Sings the Blues Coloringz too!  Love that you can buy white ribbon and turn it into any color you want.  And there, do you see that Tim Holtz film ribbon?  I love that stuff.  I lost it, then found it yesterday.


Unity Stamps Used:

TIP TIME:
Stamp with Coloringz!  It's a new product by Shimmerz Paints.  I used Anchor's Away to stamp the pattern over and over again in the background.  Want to see a demo?  Watch this weeks UnityTV Episode #2!
IT'S MARCH!

Every month, Unity produces CUTE art on a 8.5x11 sheet of rubber just for kit club members! 
Here is the kit for MARCH 2011:


To continue on the hop, click on the button!  You won't be disappointed.

Next Blog


Thanks for visiting today!


Mar 15, 2011

My Craft Room - Built By a Woman (Me)

I realized that I have yet to share pictures of my craft room with my blog readers, so here it is!  Lots of pictures, and hopefully you can see some organizational ideas that I implemented and do it yourself!  It can be done!  I did need MAN help to hang the shelves and list the counter tops into place, and for the drywall and cabinet lifting, electrical wiring, and crown molding.  Everything else (drywalling, floor installation, cabinet installation, etc) was done by yours truly.  You Tube was a BIG HELP!   There is a video for everything! 


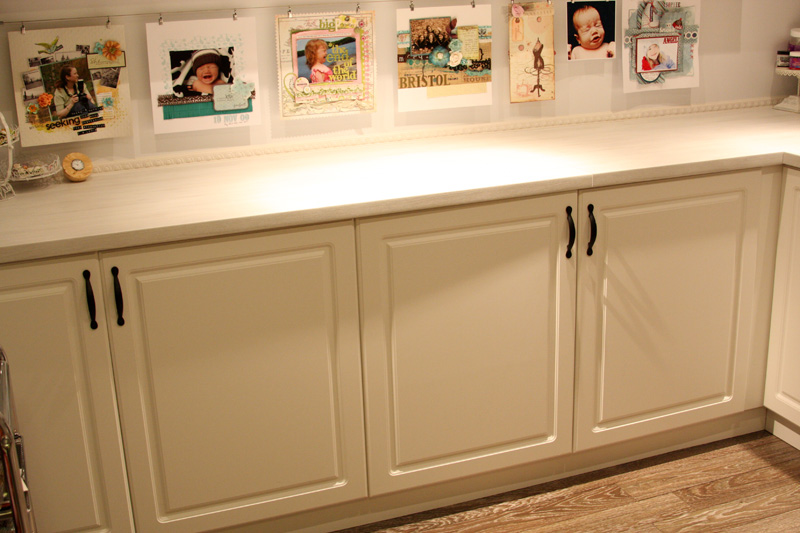
Cabinets are from Home Depot, counter top is PRAGEL by IKEA.  It does not stain and is so easy to clean, and you can cut it!  Which I had do to.  The curtain rod is also IKEA.  The ribbon organizer is Clip-it-Up.


I got the cupboard handles at Home Depot too, a nice black simple design.


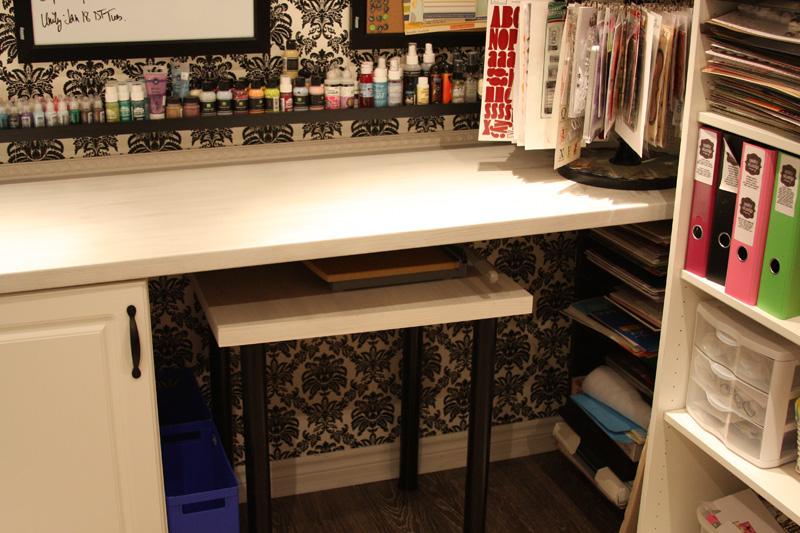
I fell in love with this wall paper, also from Home Depot.  I got away with 1 roll at $40.00.  It is a type of damask wallpaper that goes on SO easy, and apparently, you just pull the top and it comes off.  My Dad helped with the crown molding.  I found those bulletin boards and the white board at WalMart for $25 a piece.  I had a vision and I think it worked out. 


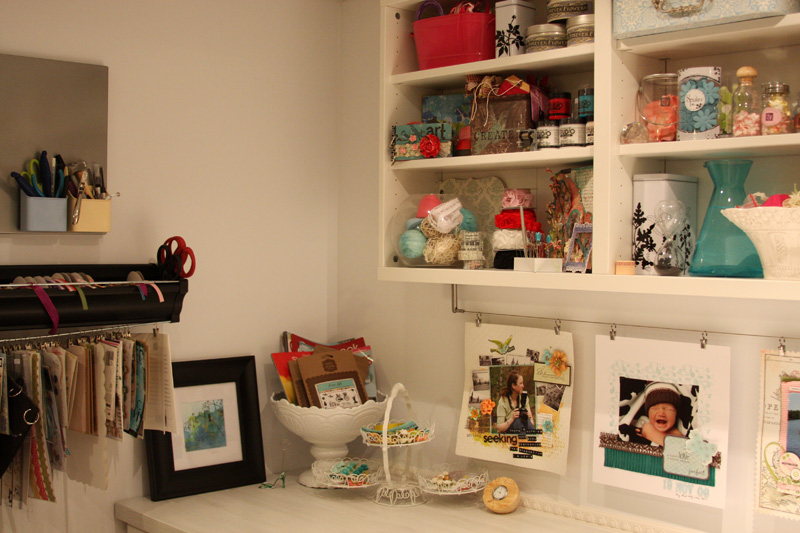
There is my RIBBA shelf from IKEA, there are 2 of them actually and they are meant to hold frames, but for me, Shimmerz, Paints, Stickles, etc!  You can also see my JUMBO Clip-it-Up in the corner.  Man that thing holds a LOT OF STUFF!

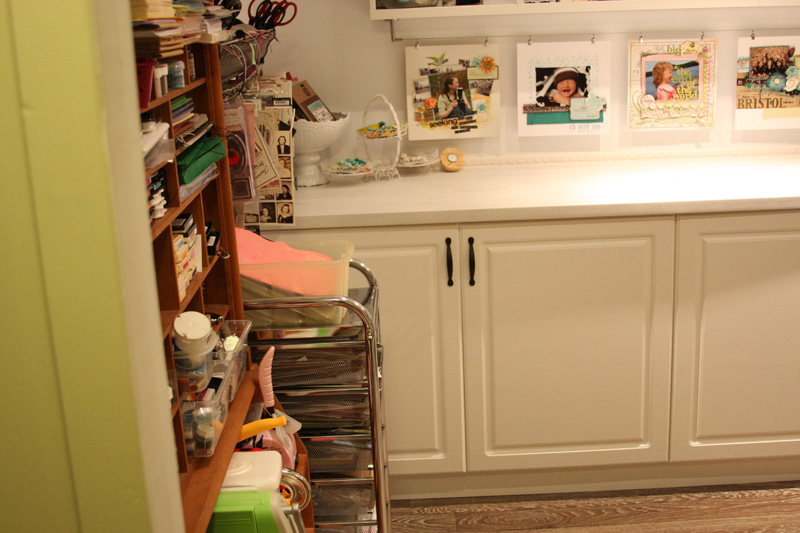
You can see my shelves on the right, just a tall shelving unit that holds my paper, binders, die cut machines, etc.

I built that little table using the left over counter top and some old legs I was just going to junk.  It's for my daughter to craft with me.


And here is my collection of Shimmerz!   Love this stuff!  I also love that trim that covers the gap between the wall and the counter.  It was on SALE for $7 a strip, and I only needed 3.  It is not meant for this purpose, but it looks pretty SWEET I think.


DISPLAYING my products is what I wanted to do, so I bought these OPEN shelves from IKEA, not too deep, to be able to put things in front of me, so that I might see them and use them.  I keep switching it up too!


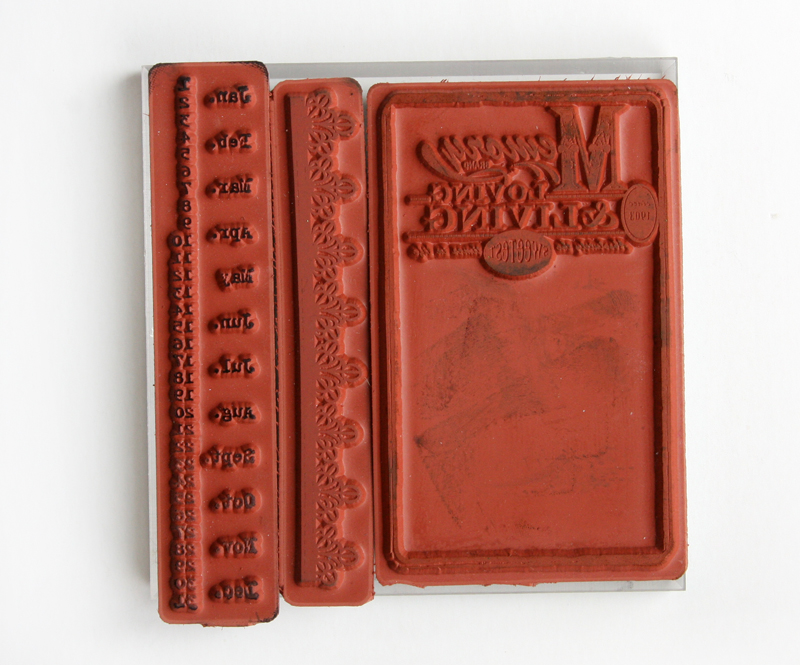
I ADORE this shelf.  $100 at a small town shop in Collingwood.  They were no longer selling stamps, and had a sticker on it that said $100 and it will be donated to a charity (I think it was for cancer research).  How could I resist.  A win win I think!


I bought this magnetic board and stuck a vinyl hand on it for fun.  :)


And if you want to hear me talk about the room, here is a video: